


Why We Teach dbt Core
At Analytics Engineers Club, we’ve always championed a more holistic view of teaching analytics engineering. Many courses teach analytics engineering using dbt Cloud, since it provides its own UI for code editing and continuous integration (CI). This allows data teams to hit the ground running, but we think that this limits the transferability of skills and leads to vendor lock-in. Instead, we prefer to use dbt Core in conjunction with other tools like VS Code and GitHub, which are more widely adopted across software engineering. dbt is but just one tool (of many!) in the landscape of analytics engineering.
dbt Core is an open-source Python package that anyone can use—and contribute to. We include Python as a topic in our curriculum for this very reason! We hope that as folks get comfortable with these new engineering muscles, they can flex them and potentially even contribute to the dbt Core repository. The fact that dbt Core is open-source means that anyone can get started on dbt, which is great for small teams looking to modernize their data stack without making a huge investment.
At a certain point, teams may consider upgrading to the paid version of dbt. This blog post from dbt helps clarify the differences between dbt Core and dbt Cloud. Pulling directly from that post:
dbt Core: an open-source framework for transforming data
dbt Cloud: a managed service which provides Git-integrated code editing, job orchestration, and data quality controls on top of dbt Core’s transformation engine
Leaner teams may consider using dbt Cloud to offload hosting their own instance of dbt Core and to use dbt’s job orchestration features. When I was previously working as a data team of one, I relied on dbt Cloud to schedule our data jobs, including running our jobs in production and kicking off our CI test suite when a pull request was opened. dbt’s set of features for job orchestration is fairly basic, so many teams opt to go with an external job orchestrator like Airflow or Dagster. Luckily, dbt Cloud’s cron-based scheduling was more than sufficient for the needs for our organization. We could set it and forget it.
dbt Changes its Pricing Model
However, dbt recently announced their usage-based pricing, which means that each run triggered by dbt Cloud could incur additional costs beyond the monthly dbt bill. For example, a team with 1000 models that are refreshed on a daily basis would easily surpass the quota of 15,000 models per month. Add to that count any CI runs triggered by dbt Cloud.
Some quick fixes to get the number of model count down include: running slim CI and running only tables that have changed. Another way to limit your dbt Cloud runs is to use GitHub Actions to kick off CI runs instead of dbt Cloud. From their documentation, we see that GitHub Actions “is a continuous integration and continuous delivery (CI/CD) platform that allows you to automate your build, test, and deployment pipeline.” Of course, there is no free lunch—GitHub Actions also costs money, but their pricing model includes a pretty generous free tier.
(Note: your engineering team might already have a preferred CI runner. Check in with them before implementing this!)
I spent some time poking around GitHub Actions to see how I could pull this off. Even with some permissions issues1, I found it relatively straightforward! GitHub has provided a lot of resources around this tool, so there’s plenty of support out there. All you’ll need:
- access to create GitHub secrets for your repo
- data warehouse service keys
- basic knowledge of YAML (which you probably already have if you’ve worked with dbt or taken our course 🙂)
Setting up Warehouse Credentials and GitHub Secrets
Note: In this example, I used BigQuery as my data warehouse, but the steps to replicate for other data warehouses should be fairly similar. We also will be using service keys to authenticate GitHub Actions with the data warehouse. Your team may prefer other methods of authenticating.
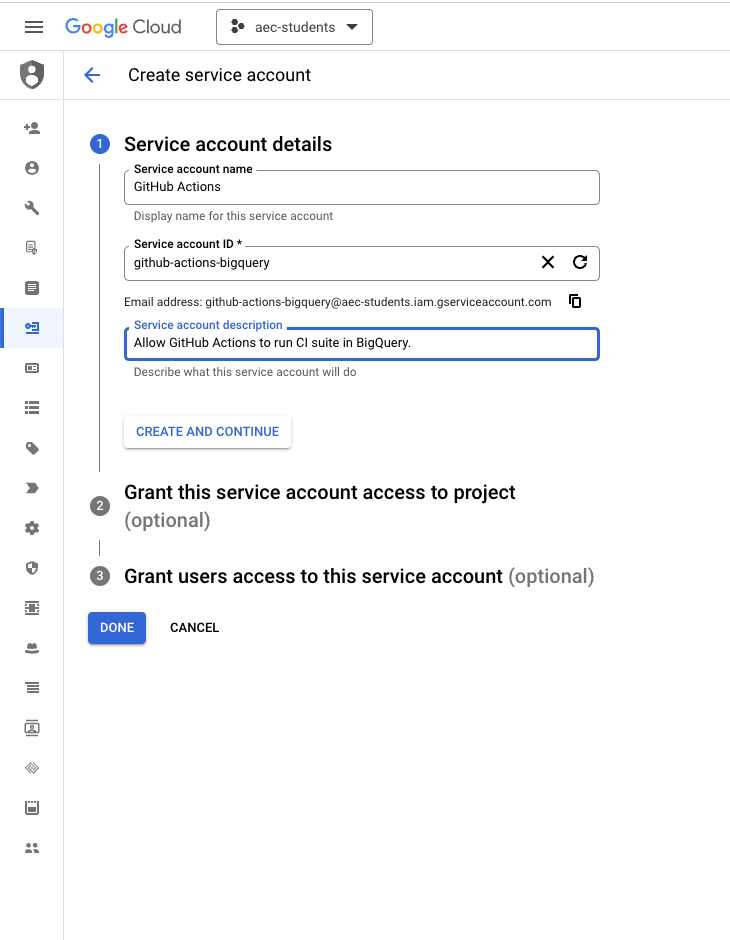
- Set up a service account key in your data warehouse. Once you do this, you’ll be asked to download a JSON file with the private key. Do not upload or share this anywhere!
- In your GitHub repository, create a secret by navigating to Settings > Secrets and variables > Actions. Provide a clear and meaningful name for your secret (like
BIGQUERY_SERVICE_ACCOUNT_KEY) and paste in the entire contents of your JSON file into the “Secret” field.

- Update your
profiles.ymlfile to include a new connection profile, which I’ve labeled ascibelow. Click here to see what an exampleprofiles.ymlfile could look like. If you have trouble locating yourprofiles.ymlfile, you can check its directory by using this command:dbt debug --config-dir.
ci:
type: bigquery # specifies which data warehouse you're using
method: service-account # we are using service accounts and keys to authenticate
project: aec-students # UPDATE THIS with the project name in your data warehouse
dataset: dbt_oriana_ci # UPDATE THIS with the schema name in your data warehouse
threads: 8
keyfile: ./coffee_shop/gcp-credentials.json # UPDATE THIS with ./<enter-project-folder>/gcp-credentials.jsonCode language: PHP (php)- Move your
profiles.ymlfile to the project folder of your repository. Typically this does not need to be version-controlled, but for this to work, GitHub needs the file to authenticate with our BigQuery data warehouse. In our example, I moved myprofiles.ymlfile from.dbt/profilesto./coffee_shop.
GitHub Actions Overview
Now that you’re able to authenticate successfully with the new service account, we can work on enabling the GitHub Action! At a high level, when an event triggers a corresponding GitHub Action, GitHub will create a virtual machine to run the steps associated with an Action. For an in-depth reading on how GitHub Actions work, read the docs here.
For this GitHub Action to work, we will be adding a YAML file to the directory .github/workflows. The YAML file contains roughly 3 sections:
- The events that will trigger the GitHub Action. The sample Action is triggered when a pull request is opened and new changes are pushed.
- The environment variables specify directory information and the name of the GitHub Secret that contains the service account key.
- The steps that the GitHub Action will take.
Setting up the GitHub Action
- Create a folder in the top-level folder of your repo and name it
.github/workflows. Add this GitHub Actions configuration file into this directory. - The following variables in the
envsection of the YAML file should be updated according to your repo:
DBT_PROFILES_DIR: this is where you moved yourprofiles.ymlfileDBT_PROJECT_DIR: this is where your project directory lives. In this example it’s./coffee_shop.BIGQUERY_SERVICE_ACCOUNT_KEY: this is where you tell GitHub where to access the secret key to authenticate to the data warehouse, e.g.${{ secrets.BIGQUERY_SERVICE_ACCOUNT_KEY }}
And that’s it! The steps in the GitHub Action will checkout the PR code, use the GitHub Secret to authenticate to the data warehouse, install dbt, and run dbt build. The various flags in the dbt build command specify the target profile and the directory of the profile and project files. No modifications needed here. To see it in action, create a pull request in your repo. GitHub will automatically detect the workflow file when the pull request action is triggered, and you can look at the results of the CI run as well.
In my sample pull request, I took the coffee shop models in our lesson plans and added sources as well as their references. Below is an image of the GitHub Action results:
dbt build. For this PR, our tests are passing!Note: This could be further enhanced with using the –select state:modified flag. In order to do this, we’ll also need to upload a manifest file to something like an S3 bucket. dbt uses this manifest file to determine which models have changed. We may write a follow-up post on this!
Conclusion
dbt plays a central role in analytics engineering, yet it does not need to be the only tool in an analytics engineer’s arsenal. In fact, we believe that it shouldn’t. dbt Core is an open-source technology, which means that we can find ways of incorporating other open-source technologies in conjunction with it. Although dbt Cloud offers different features to help nascent data teams, it’s worth exploring other tools that are commonly used in the engineering world. As reflected in our course curriculum, we believe that learning other tools outside of dbt allows engineering teams to lessen their dependence on a single tool (and hopefully cut costs) and supports AEs in taking on more advanced engineering problems in the future.
If you give this a whirl or have ideas on how to improve this, drop us a note. We’d love to hear from you!
1There’s a handy package called act that lets you run GitHub Actions locally so you can test your workflow. I had trouble accessing my GitHub secret while using this package. I suspect it was due to a docker configuration in the Codespace I was working in.